Introduction to Cherry Garcia Ice Cream
What Makes Cherry Garcia Ice Cream Special?
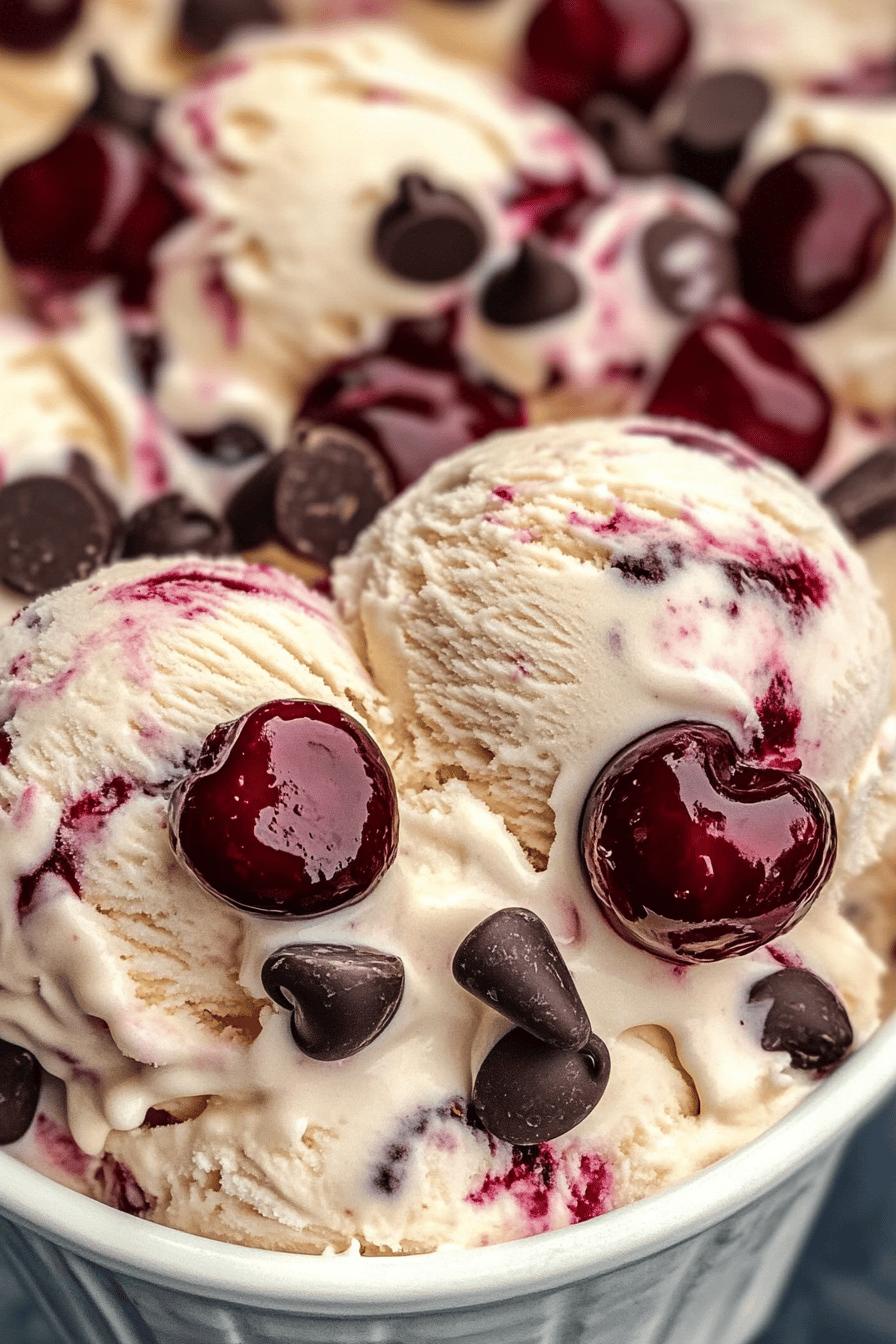
Cherry Garcia Ice Cream is not just any dessert; it’s a delightful blend of flavors that brings joy to every scoop. This ice cream features a creamy vanilla base, which serves as the perfect canvas for the vibrant cherry puree. The addition of chocolate chips and fresh cherries creates a delightful contrast, making each bite a sweet adventure. The combination of sweet and tart cherries with rich chocolate is what truly sets this ice cream apart. It’s a classic flavor that many people adore, and it’s easy to see why!
The Perfect Summer Treat
When summer rolls around, nothing beats a cool treat on a hot day. Cherry Garcia Ice Cream is the ideal choice for those sunny afternoons. Its refreshing cherry flavor and creamy texture make it a favorite among ice cream lovers. Whether you’re hosting a backyard barbecue or enjoying a quiet evening at home, this ice cream is sure to impress. Plus, making it at home means you can enjoy it fresh and customize it to your liking. So, grab your ingredients and get ready to indulge in this delightful summer treat!
Ingredients for Cherry Garcia Ice Cream
To create your own Cherry Garcia Ice Cream, you’ll need a few simple ingredients. Each one plays a vital role in achieving that creamy texture and delicious flavor. Here’s what you’ll need:
- 2 cups heavy cream
- 1 cup whole milk
- 3/4 cup granulated sugar
- 1 tablespoon pure vanilla extract
- 1 cup fresh cherries, pitted and halved
- 1/2 cup cherry puree (made from fresh or frozen cherries)
- 1/2 cup chocolate chips (semi-sweet or dark)
These ingredients come together to create a rich and flavorful ice cream. The heavy cream and whole milk provide a creamy base, while the sugar sweetens the mixture just right. The vanilla extract adds a lovely aroma, enhancing the overall taste. Fresh cherries bring a burst of flavor, and the chocolate chips add a delightful crunch. You can easily find these ingredients at your local grocery store, making this recipe accessible for everyone!
Step-by-Step Preparation of Cherry Garcia Ice Cream
Step 1: Prepare the Cherry Puree
To start, you’ll need to prepare the cherry puree. This step is simple and adds a burst of flavor to your ice cream. Begin by washing your fresh cherries thoroughly. Remove the pits and cut them in half. Place the halved cherries in a blender or food processor. Blend until smooth. If you prefer a chunkier texture, pulse the cherries a few times instead of blending completely. Once done, set the puree aside. This cherry puree will be swirled into your ice cream, giving it that signature Cherry Garcia flavor!
Step 2: Make the Vanilla Ice Cream Base
Next, it’s time to create the vanilla ice cream base. In a large mixing bowl, combine the heavy cream, whole milk, granulated sugar, and pure vanilla extract. Whisk the mixture until the sugar is fully dissolved. This step is crucial as it ensures a smooth texture. You can also use an electric mixer for a quicker process. Once the mixture is well combined, it’s ready for the next step. This creamy base is what makes your Cherry Garcia Ice Cream so delicious!
Step 3: Combine Cherry Puree and Ice Cream Base
Now, it’s time to bring the cherry puree and ice cream base together. Gently fold the cherry puree into the vanilla ice cream base. Use a spatula to mix them, but be careful not to overmix. You want to create beautiful swirls of cherry throughout the ice cream. This step adds both flavor and visual appeal. The vibrant color of the cherry puree will make your ice cream look as good as it tastes!
Step 4: Add Chocolate Chips and Fresh Cherries
After combining the puree and base, it’s time to add the chocolate chips and fresh cherries. Fold in the chocolate chips and the halved fresh cherries gently. This will ensure that every scoop of your Cherry Garcia Ice Cream has a delightful mix of chocolate and cherry. The chocolate chips will add a nice crunch, while the fresh cherries will provide juicy bites. It’s the perfect combination for a refreshing dessert!
Step 5: Freeze the Mixture
Finally, it’s time to freeze your Cherry Garcia Ice Cream mixture. Pour the combined mixture into an ice cream maker. Follow the manufacturer’s instructions for churning. If you don’t have an ice cream maker, you can pour the mixture into a shallow dish and place it in the freezer. Stir it every 30 minutes for about 2-3 hours until it reaches a creamy consistency. Once it’s frozen, your Cherry Garcia Ice Cream is ready to be enjoyed. Scoop it into bowls and savor the delightful flavors!
Variations of Cherry Garcia Ice Cream
Dairy-Free Cherry Garcia Ice Cream
If you’re looking for a dairy-free option, you can easily adapt this recipe. Start by substituting the heavy cream and whole milk with coconut cream and almond milk. These alternatives will still give you that creamy texture you love. Use the same amount of sugar and vanilla extract to maintain the flavor. When preparing the cherry puree, ensure that the cherries are fresh or frozen without added sugars. This way, you can enjoy a delicious Cherry Garcia Ice Cream that fits your dietary needs. It’s a fantastic way to indulge without compromising on taste!
Adding Nuts for Extra Crunch
For those who enjoy a bit of crunch in their ice cream, consider adding nuts! Chopped walnuts or pecans can be a delightful addition to your Cherry Garcia Ice Cream. Simply fold in about 1/2 cup of your chosen nuts along with the chocolate chips and fresh cherries. This will add a wonderful texture and a nutty flavor that complements the sweetness of the cherries and the richness of the chocolate. It’s a simple twist that can elevate your homemade ice cream to a whole new level!
Cooking Note for Cherry Garcia Ice Cream
When making Cherry Garcia Ice Cream, there are a few important cooking notes to keep in mind. First, the quality of your ingredients can significantly impact the final flavor. Always opt for fresh, ripe cherries for the best taste. If fresh cherries are out of season, frozen cherries can be a great alternative. Just make sure they are unsweetened to maintain the right balance of flavors.
Another key point is to ensure that your ice cream maker is properly chilled before use. If you’re using a bowl-style ice cream maker, place the bowl in the freezer for at least 24 hours prior to churning. This will help your ice cream freeze faster and achieve a smoother texture.
Additionally, if you prefer a softer ice cream, you can reduce the freezing time slightly. However, if you like a firmer texture, let it freeze for a longer period. Just remember to take it out of the freezer a few minutes before serving to allow it to soften slightly. This will make scooping much easier!
Lastly, feel free to experiment with the recipe. You can adjust the amount of sugar based on your sweetness preference or try different types of chocolate chips. The beauty of homemade ice cream is that you can customize it to suit your taste. Enjoy the process and have fun creating your own version of Cherry Garcia Ice Cream!
Serving Suggestions for Cherry Garcia Ice Cream
Best Ways to Serve
When it comes to serving Cherry Garcia Ice Cream, presentation can make all the difference. Start by scooping the ice cream into chilled bowls or cones. This helps keep the ice cream cold for longer. For an extra touch, you can drizzle some chocolate syrup over the top. This adds a beautiful sheen and enhances the chocolate flavor.
Another fun way to serve this ice cream is by creating a sundae. Layer scoops of Cherry Garcia Ice Cream in a tall glass, and top it with whipped cream, a cherry, and a sprinkle of chocolate chips. This not only looks appealing but also makes for a delightful treat that everyone will love!
If you’re feeling adventurous, consider making an ice cream sandwich. Take two cookies, like chocolate chip or oatmeal, and place a generous scoop of Cherry Garcia Ice Cream in between. Press the cookies together gently, and you have a delicious ice cream sandwich that’s perfect for summer gatherings.
Pairing with Other Desserts
Cherry Garcia Ice Cream pairs wonderfully with a variety of desserts. For a classic combination, serve it alongside a warm slice of chocolate cake or brownies. The rich chocolate flavors complement the sweet cherries beautifully.
If you prefer something lighter, consider serving it with a fruit tart or a slice of cheesecake. The creamy texture of the ice cream balances the tartness of the fruit, creating a delightful contrast. You can also use it as a topping for pancakes or waffles for a fun breakfast treat!
Lastly, don’t forget about drinks! Cherry Garcia Ice Cream can be blended into a milkshake for a refreshing twist. Just blend a scoop or two with milk until smooth, and enjoy a delicious Cherry Garcia milkshake that’s perfect for hot days.
Tips for Making the Best Cherry Garcia Ice Cream
Choosing the Right Cherries
When it comes to making Cherry Garcia Ice Cream, the type of cherries you choose can make a big difference. Fresh, ripe cherries are ideal for this recipe. Look for cherries that are firm, plump, and have a deep red color. These cherries will provide the best flavor and sweetness. If fresh cherries are not available, frozen cherries can be a great alternative. Just make sure they are unsweetened to keep the balance of flavors right. Remember, the quality of your cherries will directly impact the taste of your ice cream, so choose wisely!
Tips for Achieving the Perfect Texture
Getting the right texture for your Cherry Garcia Ice Cream is key to a delightful experience. First, ensure that your ice cream base is well-chilled before churning. This helps it freeze faster and results in a creamier texture. If you’re using an ice cream maker, follow the manufacturer’s instructions carefully. Churn the mixture until it thickens and resembles soft-serve ice cream.
If you don’t have an ice cream maker, you can still achieve a great texture. Pour the mixture into a shallow dish and place it in the freezer. Stir it every 30 minutes for about 2-3 hours. This will help break up ice crystals and create a smoother consistency. Lastly, if you prefer a firmer ice cream, let it freeze for a longer time. Just remember to take it out a few minutes before serving to soften slightly. This will make scooping much easier and more enjoyable!
Breakdown of Time for Cherry Garcia Ice Cream
Prep Time
Preparing your Cherry Garcia Ice Cream is a fun and straightforward process. The prep time for this delightful treat is approximately 20 minutes. This includes washing and pitting the cherries, making the cherry puree, and mixing the ice cream base. It’s a quick step that sets the stage for your delicious homemade ice cream. So, gather your ingredients and get ready to whip up something special!
Cooking Time
The cooking time for Cherry Garcia Ice Cream mainly involves the churning process. If you’re using an ice cream maker, it typically takes about 20 to 30 minutes to churn the mixture until it reaches a soft-serve consistency. If you’re opting for the no-churn method, you’ll need to freeze the mixture for about 2 to 3 hours, stirring every 30 minutes. This helps achieve that creamy texture we all love. So, whether you’re churning or freezing, you’ll be enjoying your ice cream in no time!
Total Time
In total, you can expect to spend around 3 to 4 hours from start to finish when making Cherry Garcia Ice Cream. This includes the prep time, cooking time, and the freezing period. While it may seem like a long wait, the end result is well worth it! You’ll have a delicious, creamy dessert that’s perfect for summer days. Plus, the anticipation makes the first scoop even sweeter!
Nutritional Information for Cherry Garcia Ice Cream
Calories
When indulging in Cherry Garcia Ice Cream, it’s good to know the calorie content. A typical serving size of about 1/2 cup contains approximately 250 calories. This makes it a delightful treat that can fit into your dessert plans without overwhelming your daily calorie intake. Enjoying this ice cream in moderation allows you to savor its rich flavors while keeping your diet balanced.
Protein
Cherry Garcia Ice Cream also provides a modest amount of protein. Each serving contains around 4 grams of protein. This protein comes mainly from the milk and cream used in the recipe. While it’s not a significant source of protein, every little bit helps when it comes to your overall nutrition. Pairing this ice cream with a protein-rich snack can help create a more balanced dessert experience!
Sodium
In terms of sodium, Cherry Garcia Ice Cream is relatively low. A serving typically contains about 50 milligrams of sodium. This is a reasonable amount, especially for a dessert. Keeping sodium levels in check is important for maintaining heart health, so this ice cream can be a guilt-free option when you’re craving something sweet. Just remember to enjoy it as part of a varied diet!
FAQs about Cherry Garcia Ice Cream
Can I use frozen cherries for Cherry Garcia Ice Cream?
Absolutely! Frozen cherries can be a great alternative to fresh ones, especially when they are out of season. Just make sure to choose unsweetened frozen cherries to maintain the right balance of flavors. Thaw them slightly before making the cherry puree, and you’ll still achieve that delicious Cherry Garcia flavor!
How long can I store Cherry Garcia Ice Cream?
You can store your homemade Cherry Garcia Ice Cream in the freezer for about 2 to 3 weeks. To keep it fresh, make sure to place it in an airtight container. This will help prevent ice crystals from forming and keep your ice cream creamy. Just remember to let it sit at room temperature for a few minutes before scooping, as it may harden in the freezer.
Can I make Cherry Garcia Ice Cream without an ice cream maker?
Yes, you can! If you don’t have an ice cream maker, you can still enjoy this delightful treat. Simply pour the mixture into a shallow dish and place it in the freezer. Stir it every 30 minutes for about 2 to 3 hours. This method helps break up ice crystals and gives you a creamy texture. It’s an easy way to make Cherry Garcia Ice Cream without any special equipment!
What are some toppings for Cherry Garcia Ice Cream?
There are plenty of delicious toppings you can add to your Cherry Garcia Ice Cream! Consider drizzling chocolate syrup or hot fudge over the top for an extra chocolatey treat. You can also sprinkle some chopped nuts, like walnuts or almonds, for added crunch. Fresh cherries or whipped cream make lovely garnishes too. Get creative and mix and match your favorite toppings to make each scoop even more delightful!
Conclusion on Cherry Garcia Ice Cream
Why You Should Try This Recipe Today
Cherry Garcia Ice Cream is more than just a dessert; it’s a celebration of flavors that brings joy to every scoop. With its creamy vanilla base, vibrant cherry swirls, and delightful chocolate chips, this homemade treat is perfect for any occasion. Whether you’re cooling off on a hot summer day or treating yourself after a long week, this ice cream is sure to satisfy your sweet cravings.
Making Cherry Garcia Ice Cream at home is not only easy but also allows you to customize it to your liking. You can experiment with different types of cherries, add nuts for extra crunch, or even try a dairy-free version. The possibilities are endless! Plus, the satisfaction of creating your own ice cream from scratch is truly rewarding.
So, why wait? Gather your ingredients and start making this delicious Cherry Garcia Ice Cream today. Your taste buds will thank you, and you’ll have a delightful treat to share with family and friends. Enjoy the process, savor each scoop, and make lasting memories with this classic flavor. Happy ice cream making!
Relevant Recipes Link:
Craving some delightful frozen treats? You’ll love these must-try dessert recipes:
- Creamy Vanilla Ice Cream: A Classic Delight
- Cherry Chocolate Ice Cream Cake: A Decadent Indulgence
- Creamy Coconut Ice Cream: A Taste of the Tropics
For more fantastic recipes and food inspiration, follow us on Pinterest!