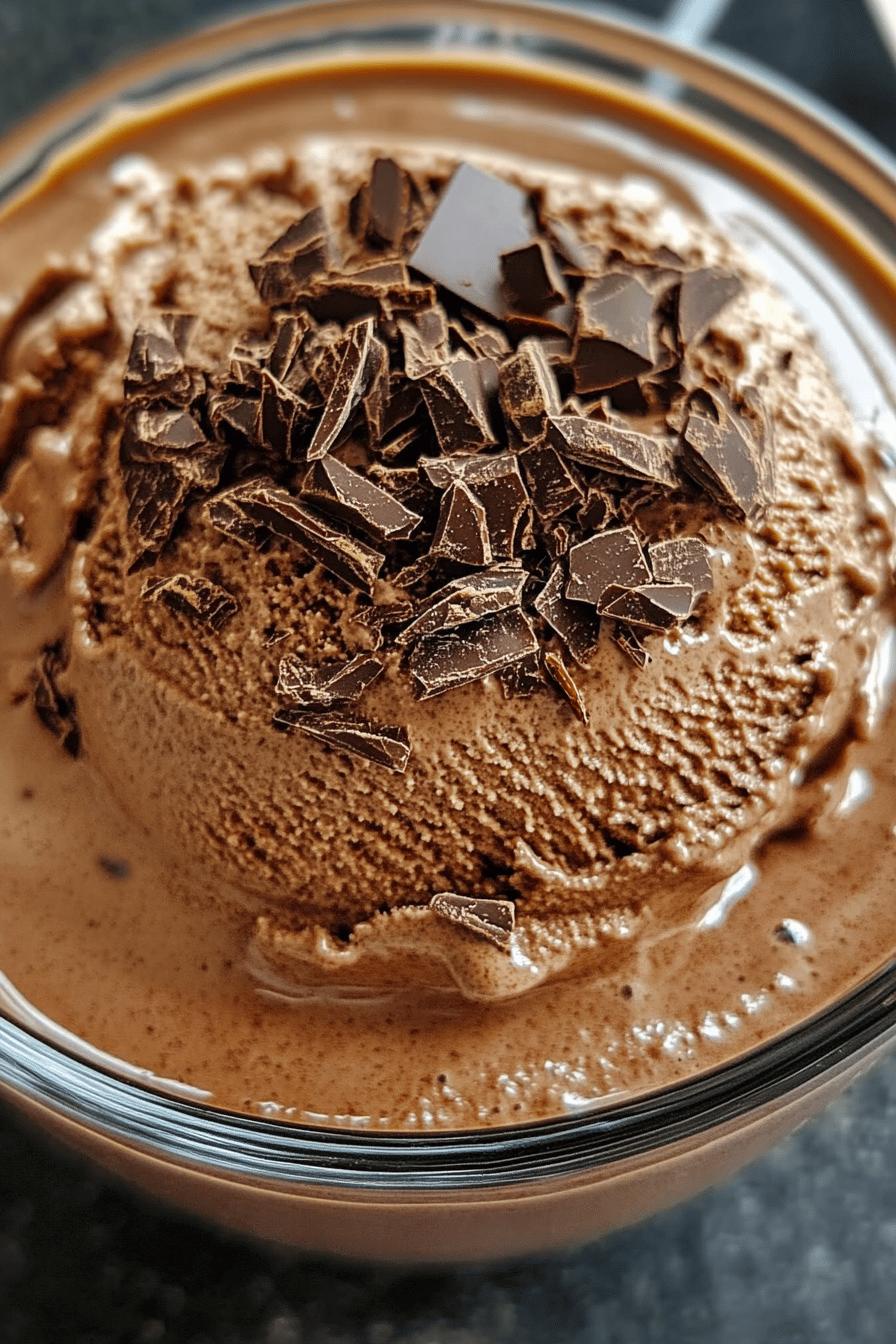
Introduction to Homemade Rich Chocolate Ice Cream
Why Choose Homemade Ice Cream?
Making ice cream at home is a delightful experience. First, you have complete control over the ingredients. This means you can choose high-quality items, ensuring a rich flavor. Plus, you can adjust the sweetness to your liking. Homemade ice cream is also free from preservatives and artificial flavors, making it a healthier choice.
Another reason to opt for homemade ice cream is the fun of creating it. Involving family or friends in the process can turn it into a memorable activity. Everyone can pitch in, from mixing the ingredients to churning the ice cream. It’s a great way to bond and share delicious treats together.
The Allure of Chocolate Desserts
Chocolate desserts have a special place in many hearts. The rich, creamy taste of chocolate can lift your spirits and satisfy your cravings. Whether it’s a slice of cake or a scoop of ice cream, chocolate brings joy. It’s no wonder that chocolate ice cream is a favorite among dessert lovers.
Moreover, chocolate is versatile. You can enjoy it plain or mix it with various flavors. From nuts to fruits, the possibilities are endless. This versatility makes chocolate desserts, especially ice cream, a perfect choice for any occasion. So, why not indulge in a homemade rich chocolate ice cream that promises to be both delicious and satisfying?
Ingredients for Homemade Rich Chocolate Ice Cream
Creating your own homemade rich chocolate ice cream is simple and requires just a few key ingredients. Here’s what you’ll need:
- 2 cups heavy cream: This is the base of your ice cream, providing a rich and creamy texture.
- 1 cup whole milk: Whole milk adds creaminess and balances the richness of the heavy cream.
- 3/4 cup granulated sugar: Sugar sweetens the ice cream and enhances the chocolate flavor.
- 1/2 cup unsweetened cocoa powder: This is the star ingredient, giving your ice cream its rich chocolate taste.
- 1 teaspoon pure vanilla extract: Vanilla adds depth and enhances the overall flavor of the ice cream.
- 1/2 teaspoon salt: A pinch of salt helps to balance the sweetness and brings out the chocolate flavor.
These ingredients come together to create a luscious chocolate ice cream that is sure to please. Feel free to adjust the sugar based on your taste preferences. If you prefer a sweeter treat, add a bit more sugar. On the other hand, if you like a more intense chocolate flavor, you can reduce the sugar slightly.
Now that you have your ingredients ready, you’re one step closer to enjoying a delightful homemade rich chocolate ice cream. Let’s move on to the preparation process!
Step-by-Step Preparation of Homemade Rich Chocolate Ice Cream
Step 1: Gather Your Ingredients
Before you start making your homemade rich chocolate ice cream, it’s essential to gather all your ingredients. This will make the process smoother and more enjoyable. Make sure you have:
- 2 cups heavy cream
- 1 cup whole milk
- 3/4 cup granulated sugar
- 1/2 cup unsweetened cocoa powder
- 1 teaspoon pure vanilla extract
- 1/2 teaspoon salt
Having everything ready will help you focus on mixing and creating that delicious ice cream. Plus, it’s always nice to see all your ingredients laid out, ready for action!
Step 2: Mix the Base
Now that you have your ingredients, it’s time to mix them together. In a large mixing bowl, combine the heavy cream, whole milk, and granulated sugar. Whisk these ingredients together until the sugar is fully dissolved. This step is crucial as it ensures a smooth texture in your ice cream.
Next, add the unsweetened cocoa powder, pure vanilla extract, and salt. Continue whisking until everything is well combined and you have a rich, chocolatey mixture. The aroma will be heavenly, and you might find it hard to resist tasting a spoonful!
Step 3: Churn the Ice Cream
Once your base is ready, it’s time to churn the ice cream. If you have an ice cream maker, pour the mixture into the machine and follow the manufacturer’s instructions. Typically, it takes about 20 to 30 minutes for the ice cream to reach a soft-serve consistency.
If you don’t have an ice cream maker, don’t worry! You can still make this delicious treat. Pour the mixture into a shallow dish and place it in the freezer. Every 30 minutes, stir the mixture with a fork to break up any ice crystals. Repeat this process until the ice cream is thick and creamy, which usually takes about 2 to 3 hours.
Step 4: Freeze and Set
After churning, your ice cream will be soft and fluffy. To achieve that perfect scoopable texture, transfer the ice cream to an airtight container. Smooth the top with a spatula and cover it tightly. Place it in the freezer for at least 4 hours, or until it’s firm.
Once it’s fully set, your homemade rich chocolate ice cream is ready to be enjoyed! Just scoop it into bowls or cones, and get ready to indulge in a creamy, chocolatey delight.
Variations of Homemade Rich Chocolate Ice Cream
Adding Mix-Ins for Extra Flavor
One of the best parts about making homemade rich chocolate ice cream is the ability to customize it. Adding mix-ins can elevate your ice cream experience. Here are some delicious options to consider:
- Chocolate Chips: Fold in semi-sweet or dark chocolate chips for an extra chocolatey bite.
- Nuts: Chopped walnuts or almonds add a delightful crunch and nutty flavor.
- Fruits: Fresh raspberries or strawberries can provide a refreshing contrast to the rich chocolate.
- Marshmallows: Mini marshmallows can add a fun, chewy texture to your ice cream.
- Cookie Crumbles: Crushed cookies, like Oreos or chocolate wafers, can create a delightful cookie dough effect.
To incorporate these mix-ins, simply add them to the ice cream base during the last few minutes of churning. This way, they’ll be evenly distributed throughout your creamy treat. Feel free to get creative and mix and match to find your perfect combination!
Dairy-Free Options for Homemade Rich Chocolate Ice Cream
If you’re looking for a dairy-free version of homemade rich chocolate ice cream, you can easily adapt the recipe. Here’s how:
- Coconut Milk: Use full-fat coconut milk instead of heavy cream and whole milk. This will give your ice cream a rich, creamy texture.
- Almond Milk: Unsweetened almond milk can be a lighter alternative, but it may result in a less creamy texture.
- Cashew Cream: Blend soaked cashews with water to create a creamy base that works wonderfully in ice cream.
When using dairy-free milk, you may want to add a bit of cornstarch or arrowroot powder to help thicken the mixture. Follow the same steps as the original recipe, and you’ll have a delicious dairy-free chocolate ice cream that everyone can enjoy!
Cooking Note for Homemade Rich Chocolate Ice Cream
When making your homemade rich chocolate ice cream, a few cooking notes can help ensure your success. First, always use high-quality ingredients. The better the ingredients, the richer and more flavorful your ice cream will be. Opt for pure cocoa powder and real vanilla extract for the best taste.
Next, temperature matters! Make sure your heavy cream and whole milk are cold before mixing. This helps the mixture churn more effectively, resulting in a creamier texture. If you’re using an ice cream maker, pre-chill the bowl according to the manufacturer’s instructions. This step is crucial for achieving that perfect consistency.
Additionally, be patient during the freezing process. While it may be tempting to dig in right after churning, allowing the ice cream to set in the freezer for several hours will enhance its texture. This waiting period allows the flavors to meld beautifully, creating a more enjoyable dessert.
Lastly, if you find your ice cream too hard after freezing, let it sit at room temperature for a few minutes before scooping. This will make it easier to serve and ensure you get those perfect, creamy scoops. With these tips in mind, you’re all set to create a delightful homemade rich chocolate ice cream that will impress everyone!
Serving Suggestions for Homemade Rich Chocolate Ice Cream
Pairing with Toppings
Once your homemade rich chocolate ice cream is ready, it’s time to think about toppings! The right toppings can take your dessert to the next level. Here are some delicious options to consider:
- Whipped Cream: A dollop of freshly whipped cream adds a light and airy touch to your rich ice cream.
- Chocolate Sauce: Drizzle warm chocolate sauce over your ice cream for an extra chocolatey experience.
- Sprinkles: Colorful sprinkles can add a fun and festive look, perfect for parties or special occasions.
- Fresh Berries: Raspberries or strawberries not only look beautiful but also provide a refreshing contrast to the rich chocolate.
- Crushed Nuts: Chopped almonds or hazelnuts can add a delightful crunch and nutty flavor.
Feel free to mix and match these toppings to create your perfect bowl of ice cream. The combination of flavors and textures will make each bite a delightful surprise!
Creative Serving Ideas
Serving your homemade rich chocolate ice cream can be just as fun as making it! Here are some creative ideas to impress your family and friends:
- Ice Cream Sundae Bar: Set up a sundae bar with various toppings, sauces, and mix-ins. Let everyone create their own unique sundae masterpiece!
- Chocolate Ice Cream Sandwiches: Scoop the ice cream between two cookies for a delicious ice cream sandwich. Chocolate chip or brownie cookies work wonderfully!
- Milkshakes: Blend a scoop of your ice cream with milk for a rich and creamy milkshake. Top it with whipped cream and a cherry for a classic touch.
- Chocolate Ice Cream Float: Pour soda or sparkling water over a scoop of ice cream for a fizzy treat. Root beer or cola pairs nicely with chocolate.
- Chocolate Fondue: Serve scoops of ice cream alongside a bowl of warm chocolate fondue. Guests can dip fruits, marshmallows, or cookies into the chocolate for a fun dessert experience.
These serving suggestions will not only enhance the enjoyment of your homemade rich chocolate ice cream but also create memorable moments with loved ones. So, get creative and have fun with your dessert presentation!
Tips for Perfecting Your Homemade Rich Chocolate Ice Cream
Choosing the Right Cocoa Powder
When it comes to making homemade rich chocolate ice cream, the cocoa powder you choose can make a big difference. Not all cocoa powders are created equal! Here are some tips to help you select the best one:
- Look for Unsweetened Cocoa Powder: Always opt for unsweetened cocoa powder. This allows you to control the sweetness of your ice cream.
- Choose Dutch-Processed Cocoa: Dutch-processed cocoa has a smoother flavor and darker color. It can give your ice cream a richer taste.
- Check for Quality: High-quality cocoa powder will have a more intense chocolate flavor. Brands that use premium cocoa beans are often worth the investment.
- Experiment with Different Types: Don’t hesitate to try different cocoa powders. Each type can bring a unique flavor profile to your ice cream.
By selecting the right cocoa powder, you can enhance the overall taste of your homemade rich chocolate ice cream. A little attention to detail goes a long way in creating a delightful dessert!
Storage Tips for Homemade Ice Cream
Proper storage is essential for maintaining the quality of your homemade rich chocolate ice cream. Here are some helpful tips to keep it fresh and delicious:
- Use an Airtight Container: Transfer your ice cream to an airtight container. This helps prevent ice crystals from forming and keeps the ice cream creamy.
- Cover with Plastic Wrap: For extra protection, press a piece of plastic wrap directly onto the surface of the ice cream before sealing the container. This minimizes air exposure.
- Store in the Back of the Freezer: Place your ice cream in the back of the freezer where the temperature is more consistent. Avoid storing it in the door, as it can be warmer.
- Label and Date: Don’t forget to label your container with the date. Homemade ice cream is best enjoyed within 2 to 3 weeks for optimal flavor and texture.
By following these storage tips, you can ensure that your homemade rich chocolate ice cream stays fresh and ready to enjoy whenever the craving strikes!
Breakdown of Time for Homemade Rich Chocolate Ice Cream
Prep Time
Preparing your homemade rich chocolate ice cream is a breeze! The prep time is quite short, taking about 15 to 20 minutes. This includes gathering your ingredients, mixing the base, and getting everything ready for churning. It’s a quick process that allows you to dive into the fun of making ice cream without a long wait.
Cooking Time
The cooking time, or rather the churning time, varies depending on the method you choose. If you’re using an ice cream maker, expect it to take around 20 to 30 minutes to reach that perfect soft-serve consistency. If you’re opting for the manual method, where you stir the mixture every 30 minutes, it will take about 2 to 3 hours to achieve a creamy texture. Regardless of the method, the anticipation will make the final result even sweeter!
Total Time
In total, you should plan for about 4 to 5 hours to make your homemade rich chocolate ice cream. This includes the prep time, cooking time, and the necessary freezing time to set the ice cream properly. While it may seem like a long wait, the delicious reward at the end is absolutely worth it. Plus, you can use this time to prepare toppings or enjoy a little break while your ice cream sets!
Nutritional Information for Homemade Rich Chocolate Ice Cream
Calories and Macronutrients
Understanding the nutritional content of your homemade rich chocolate ice cream can help you enjoy it mindfully. Here’s a general breakdown of the calories and macronutrients per serving (1/2 cup):
- Calories: Approximately 250 calories
- Fat: 18 grams (of which saturated fat is about 11 grams)
- Carbohydrates: 24 grams (including about 20 grams of sugar)
- Protein: 3 grams
These values can vary based on the specific ingredients you use and any mix-ins you add. For instance, using lower-fat milk or reducing the sugar can lower the calorie count. Always consider your dietary needs when enjoying this delicious treat!
Health Considerations
While homemade rich chocolate ice cream is a delightful indulgence, it’s important to enjoy it in moderation. Here are some health considerations to keep in mind:
- Portion Control: Since ice cream is calorie-dense, sticking to a small serving can help you satisfy your sweet tooth without overdoing it.
- Quality Ingredients: Using high-quality ingredients, like pure cocoa powder and real vanilla, can enhance the flavor and nutritional value of your ice cream.
- Allergies and Dietary Restrictions: If you have lactose intolerance or dairy allergies, consider the dairy-free options mentioned earlier. They can provide a delicious alternative without compromising on taste.
- Balance with Nutrition: Pair your ice cream with fresh fruits or nuts to add fiber and healthy fats, making your dessert a bit more balanced.
By keeping these health considerations in mind, you can enjoy your homemade rich chocolate ice cream as a delightful treat that fits into a balanced lifestyle. Remember, it’s all about enjoying the experience and savoring each creamy bite!
FAQs about Homemade Rich Chocolate Ice Cream
Can I use a different type of milk?
Absolutely! You can use different types of milk to suit your preferences. If you want a creamier texture, stick with whole milk or heavy cream. However, if you’re looking for a lighter option, you can use 2% milk or even almond milk. Just keep in mind that using lower-fat milk may result in a less creamy ice cream. For a dairy-free version, coconut milk or cashew milk works wonderfully, providing a rich flavor without dairy.
How long does homemade ice cream last?
Homemade rich chocolate ice cream can last in the freezer for about 2 to 3 weeks. To keep it fresh, store it in an airtight container. Make sure to cover the surface with plastic wrap before sealing the lid. This helps prevent ice crystals from forming and keeps your ice cream creamy. After a few weeks, the flavor and texture may start to decline, so it’s best to enjoy it while it’s fresh!
What can I do if my ice cream is too hard?
If your homemade rich chocolate ice cream is too hard to scoop, don’t worry! Simply let it sit at room temperature for about 5 to 10 minutes. This will soften it enough to make scooping easier. You can also try using a warm ice cream scoop to help cut through the frozen treat. Just dip the scoop in warm water before using it, and you’ll get those perfect, creamy scoops in no time!
Can I make this ice cream without an ice cream maker?
Yes, you can definitely make homemade rich chocolate ice cream without an ice cream maker! Just pour the mixture into a shallow dish and place it in the freezer. Every 30 minutes, stir the mixture with a fork to break up any ice crystals. Repeat this process until the ice cream reaches a thick and creamy consistency, which usually takes about 2 to 3 hours. This method may require a bit more effort, but the delicious result is worth it!
Conclusion on Homemade Rich Chocolate Ice Cream
In conclusion, making your own homemade rich chocolate ice cream is a rewarding and enjoyable experience. With just a few simple ingredients and steps, you can create a creamy, chocolatey delight that satisfies your sweet cravings. Whether you choose to enjoy it on a hot summer day or as a special treat after dinner, this ice cream is sure to impress.
Remember, the beauty of homemade ice cream lies in its versatility. You can customize it with various mix-ins, toppings, and even dairy-free options to suit your preferences. The joy of sharing this delicious dessert with family and friends makes it even more special. So, gather your ingredients, follow the steps, and indulge in the rich flavors of your very own chocolate ice cream.
As you savor each scoop, take a moment to appreciate the effort you put into creating this delightful treat. Homemade rich chocolate ice cream is not just a dessert; it’s a celebration of flavors, creativity, and the joy of making something delicious from scratch. Enjoy every bite, and don’t forget to share the love with those around you!
Relevant Recipes Link:
Craving more frozen delights? Give these homemade ice cream recipes a try:
- Mint Chocolate Chip Ice Cream: A Refreshing Treat
- Peanut Butter Chocolate Ice Cream: A Decadent Indulgence
- Espresso Coffee Ice Cream: A Rich and Energizing Flavor
For more fantastic recipes and food inspiration, follow us on Pinterest!