Introduction to Rich Homemade Chocolate Ice Cream
Chocolate ice cream is a classic dessert that brings joy to many. It’s creamy, rich, and oh-so-delicious! Making your own chocolate ice cream at home is not only fun but also rewarding. You can control the ingredients, ensuring that every scoop is made with love and high-quality components. Plus, there’s something special about enjoying a treat you’ve created yourself.
Why You Should Make Rich Homemade Chocolate Ice Cream
There are countless reasons to whip up a batch of rich homemade chocolate ice cream. First, it’s incredibly easy to make. With just a few simple ingredients, you can create a dessert that rivals any store-bought option. Imagine the satisfaction of serving your friends and family a treat that’s both delicious and made from scratch!
Moreover, homemade ice cream allows for customization. You can adjust the sweetness, add your favorite mix-ins, or even experiment with flavors. Want a hint of mint? Go for it! Prefer a nutty crunch? Toss in some chopped nuts. The possibilities are endless, making it a fun activity for everyone.
Additionally, this recipe uses high-quality cocoa and sweetened condensed milk, which results in a rich and creamy texture. Unlike many commercial brands, you can be sure there are no artificial flavors or preservatives in your homemade version. This means you can indulge without any guilt!
Finally, making rich homemade chocolate ice cream is perfect for any occasion. Whether it’s a hot summer day, a cozy movie night, or a festive gathering, this dessert is sure to impress. So, roll up your sleeves and get ready to treat yourself and your loved ones to a delightful scoop of homemade goodness!
Ingredients for Rich Homemade Chocolate Ice Cream
To create your own rich homemade chocolate ice cream, you’ll need a few key ingredients. Each one plays a vital role in achieving that creamy, decadent texture and delightful chocolate flavor. Here’s what you’ll need:
- 2 cups heavy cream: This is the base of your ice cream, providing the rich creaminess that makes it so indulgent.
- 1 cup whole milk: Whole milk adds a smooth texture and balances the richness of the cream.
- 1 cup sweetened condensed milk: This ingredient sweetens the ice cream and gives it a luscious consistency.
- 3/4 cup high-quality cocoa powder: Choose a good cocoa powder for the best chocolate flavor. It’s the star of the show!
- 1 teaspoon vanilla extract: Vanilla enhances the chocolate flavor and adds a lovely aroma.
- Pinch of salt: A little salt helps to balance the sweetness and brings out the chocolate taste.
Optional mix-ins can also elevate your ice cream experience. Consider adding:
- Chocolate chips: For extra chocolatey goodness.
- Chopped nuts: Almonds or walnuts add a delightful crunch.
- Marshmallows: For a fun, chewy texture.
Gather these ingredients, and you’ll be well on your way to making a rich homemade chocolate ice cream that everyone will love. Remember, the quality of your ingredients matters, so choose the best you can find!
Step-by-Step Preparation of Rich Homemade Chocolate Ice Cream
Now that you have all your ingredients ready, it’s time to dive into the fun part: making your rich homemade chocolate ice cream! Follow these simple steps to create a creamy, delicious treat that will have everyone asking for seconds.
Step 1: Gather Your Ingredients
Before you start, make sure you have everything you need. Gather your heavy cream, whole milk, sweetened condensed milk, cocoa powder, vanilla extract, and salt. If you’re adding any mix-ins, like chocolate chips or nuts, have those ready too. Having everything in one place makes the process smoother and more enjoyable!
Step 2: Mix the Base for Rich Homemade Chocolate Ice Cream
In a large mixing bowl, combine the heavy cream and whole milk. Whisk them together until they are well blended. Next, add the sweetened condensed milk, cocoa powder, vanilla extract, and a pinch of salt. Whisk everything together until the mixture is smooth and creamy. Make sure there are no lumps from the cocoa powder. This step is crucial for achieving that rich, velvety texture!
Step 3: Churn the Mixture
Once your mixture is ready, it’s time to churn! If you have an ice cream maker, pour the mixture into the machine and churn according to the manufacturer’s instructions. This usually takes about 20 to 30 minutes. If you don’t have an ice cream maker, don’t worry! You can still make delicious ice cream. Just pour the mixture into a shallow dish and place it in the freezer. Stir it every 30 minutes for about 2 to 3 hours until it reaches a creamy consistency.
Step 4: Freeze the Ice Cream
After churning, transfer the ice cream to an airtight container. Smooth the top with a spatula and cover it tightly. Place it in the freezer for at least 4 hours, or until it’s firm. This final freezing step is essential for achieving that perfect scoopable texture. Once it’s ready, you can enjoy your rich homemade chocolate ice cream!
And there you have it! With these easy steps, you’ll create a delightful dessert that’s sure to impress. Get ready to scoop, serve, and savor every bite of your homemade chocolate ice cream!
Variations of Rich Homemade Chocolate Ice Cream
While the classic rich homemade chocolate ice cream is already a treat, there are many ways to enhance its flavor and cater to different dietary needs. Let’s explore some exciting variations that can take your ice cream experience to the next level!
Adding Flavor Enhancements
Why not get creative with your chocolate ice cream? Here are some fun flavor enhancements you can try:
- Mint Chocolate Chip: Add a few drops of peppermint extract to the base mixture. Once churned, fold in some chocolate chips for a refreshing twist.
- Mocha Delight: Mix in a tablespoon of instant coffee granules to the base. This will give your ice cream a rich coffee flavor that pairs beautifully with chocolate.
- Spicy Chocolate: For a kick, add a pinch of cayenne pepper or cinnamon to the mixture. This unexpected heat will surprise and delight your taste buds!
- Nutty Chocolate: Stir in some almond or hazelnut extract for a nutty flavor. You can also add chopped nuts for extra crunch.
These enhancements can make your rich homemade chocolate ice cream even more exciting. Feel free to mix and match flavors to find your perfect combination!
Alternative Ingredients for Dietary Needs
Making ice cream that fits various dietary needs is easier than you think! Here are some alternative ingredients you can use:
- Dairy-Free Option: Substitute the heavy cream and whole milk with coconut milk or almond milk. Use full-fat coconut milk for a creamy texture.
- Vegan Version: Replace sweetened condensed milk with a homemade version made from blended soaked cashews and maple syrup. This will keep your ice cream rich and sweet.
- Low-Sugar Alternative: Use a sugar substitute like stevia or erythritol instead of sweetened condensed milk. Just be sure to adjust the quantity according to the product’s sweetness level.
- Gluten-Free: All the ingredients listed are naturally gluten-free, so you can enjoy this treat without worry!
These variations ensure that everyone can enjoy a scoop of rich homemade chocolate ice cream, no matter their dietary preferences. So, get creative and make this dessert your own!
Cooking Note for Rich Homemade Chocolate Ice Cream
When making rich homemade chocolate ice cream, a few cooking notes can help you achieve the best results. First, always use high-quality ingredients. The cocoa powder and sweetened condensed milk are crucial for flavor and texture. Opt for brands that you trust and enjoy.
Next, temperature matters! Ensure that your heavy cream and whole milk are cold before mixing. This helps the mixture churn better, resulting in a creamier ice cream. If you’re using an ice cream maker, pre-chill the bowl according to the manufacturer’s instructions. This step is essential for achieving that perfect, smooth consistency.
Also, don’t rush the freezing process. After churning, allow the ice cream to freeze for at least four hours. This time allows the flavors to meld and the texture to firm up. If you’re eager to enjoy your treat sooner, remember that a shorter freezing time may lead to a softer, less scoopable ice cream.
Lastly, if you’re adding mix-ins like chocolate chips or nuts, fold them in gently after churning. This ensures they are evenly distributed without breaking apart. Enjoy the process, and don’t hesitate to taste your mixture along the way. After all, the best part of making ice cream is savoring the deliciousness you create!
Serving Suggestions for Rich Homemade Chocolate Ice Cream
Now that you’ve made your rich homemade chocolate ice cream, it’s time to serve it up! Presentation can make a big difference in how much everyone enjoys their dessert. Here are some delightful serving suggestions to elevate your ice cream experience.
Toppings to Elevate Your Ice Cream Experience
Toppings can transform a simple scoop of ice cream into a gourmet treat. Here are some delicious options to consider:
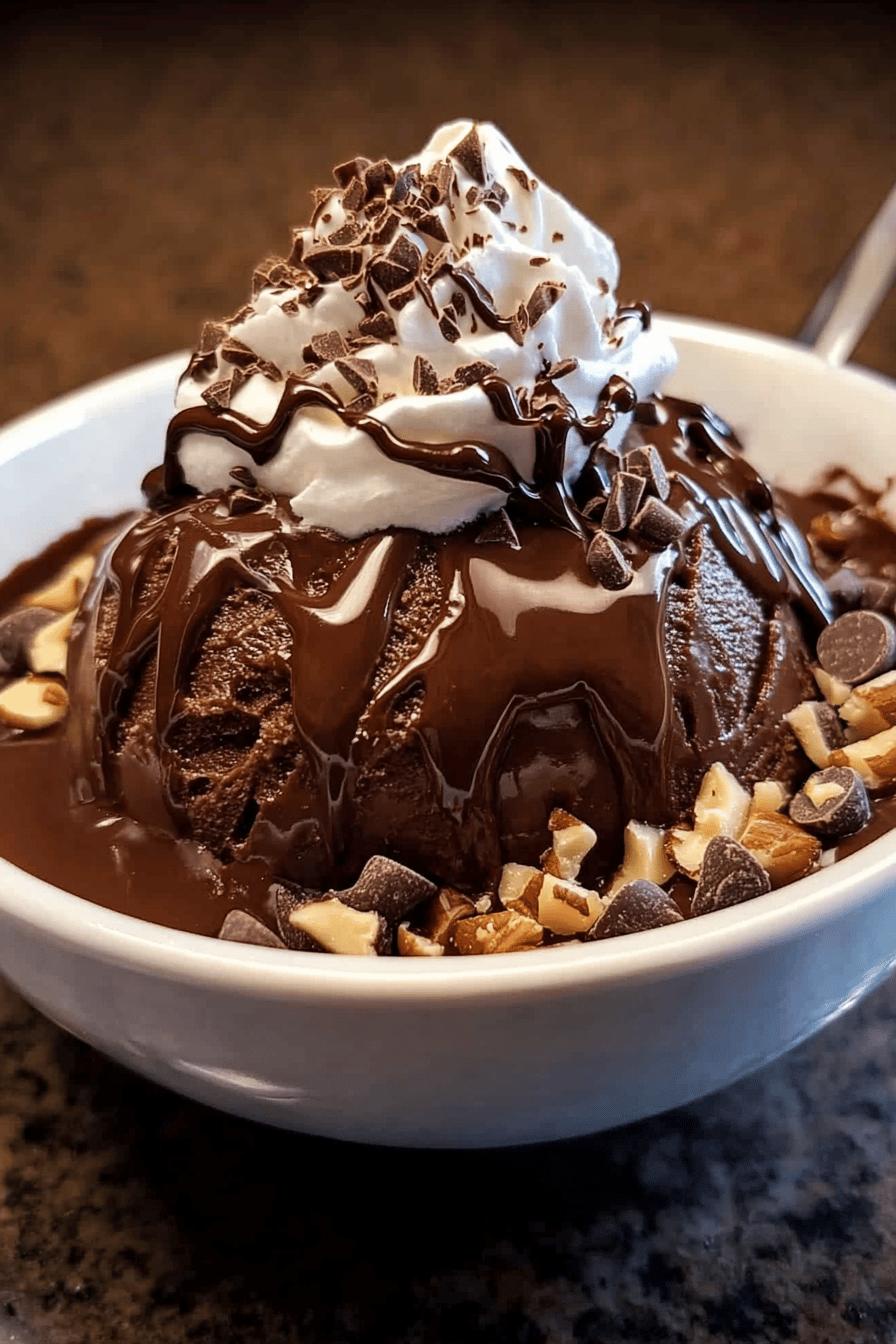
- Chocolate Syrup: Drizzle warm chocolate syrup over your ice cream for an extra chocolatey kick. It adds a beautiful shine and enhances the flavor.
- Whipped Cream: A dollop of fluffy whipped cream on top adds a light and airy contrast to the rich ice cream. You can even sprinkle some cocoa powder on top for a decorative touch!
- Chopped Nuts: Add some crunch with chopped almonds, walnuts, or pecans. Nuts not only provide texture but also a nutty flavor that pairs well with chocolate.
- Fresh Berries: Strawberries, raspberries, or blueberries add a burst of freshness. Their tartness balances the sweetness of the ice cream beautifully.
- Marshmallows: Mini marshmallows can add a fun, chewy texture. They’re perfect for a s’mores-inspired treat!
- Sprinkles: For a festive touch, sprinkle colorful jimmies or chocolate sprinkles on top. They make your dessert look fun and inviting.
Feel free to mix and match these toppings to create your perfect bowl of ice cream. You can even set up a toppings bar for parties, allowing guests to customize their own sundaes. This interactive element makes dessert time even more enjoyable!
With these serving suggestions, your rich homemade chocolate ice cream will not only taste amazing but also look stunning. So scoop, top, and enjoy every delicious bite!
Tips for Perfecting Rich Homemade Chocolate Ice Cream
Creating the perfect rich homemade chocolate ice cream is an art. With a few helpful tips, you can elevate your ice cream-making skills and ensure that every scoop is a delightful experience. Here are some essential tips to keep in mind:
- Chill Your Ingredients: Before you start mixing, chill your heavy cream and whole milk in the refrigerator. Cold ingredients help the mixture churn better, resulting in a creamier texture.
- Use Quality Cocoa: The type of cocoa powder you choose can make a big difference. Opt for high-quality cocoa for a richer chocolate flavor. Dutch-processed cocoa can also add a unique taste.
- Don’t Over-Churn: If you’re using an ice cream maker, be careful not to over-churn the mixture. Once it reaches a soft-serve consistency, stop the machine. Over-churning can lead to a grainy texture.
- Let It Rest: After churning, let the ice cream sit at room temperature for about 5-10 minutes before serving. This allows it to soften slightly, making it easier to scoop.
- Store Properly: To keep your ice cream fresh, store it in an airtight container. Press a piece of plastic wrap directly onto the surface of the ice cream before sealing the lid. This helps prevent ice crystals from forming.
- Experiment with Mix-Ins: Don’t be afraid to get creative with mix-ins! Try adding crushed cookies, caramel swirls, or even a swirl of peanut butter for a fun twist. Just remember to fold them in gently after churning.
- Serve with Style: Presentation matters! Use fun bowls or cones, and don’t forget to add toppings. A well-presented dessert can make the experience even more enjoyable.
By following these tips, you’ll be well on your way to mastering the art of rich homemade chocolate ice cream. Each batch will be a delicious treat that you and your loved ones will cherish. So, gather your ingredients, put on your apron, and get ready to create something truly special!
Breakdown of Time for Rich Homemade Chocolate Ice Cream
Understanding the time needed to make rich homemade chocolate ice cream can help you plan your dessert-making adventure. Here’s a simple breakdown of the time involved in each step of the process.
Prep Time
Getting everything ready is the first step. The prep time for this delicious ice cream is about 15 to 20 minutes. During this time, you’ll gather your ingredients, mix the base, and prepare your ice cream maker or container. It’s a quick and easy process that sets the stage for your creamy treat!
Cooking Time
Next comes the cooking time, which mainly involves churning the mixture. If you’re using an ice cream maker, this will take around 20 to 30 minutes. If you’re opting for the no-machine method, you’ll need to stir the mixture every 30 minutes for about 2 to 3 hours. This step is crucial for achieving that smooth, creamy texture we all love!
Total Time
Finally, let’s look at the total time. Including prep, cooking, and freezing, you should plan for about 4 to 5 hours to enjoy your rich homemade chocolate ice cream. This includes the 4 hours of freezing time after churning. While it may seem like a long wait, the delicious reward is well worth it!
So, gather your ingredients, set aside some time, and get ready to indulge in a delightful homemade chocolate ice cream experience!
Nutritional Information for Rich Homemade Chocolate Ice Cream
Understanding the nutritional content of your rich homemade chocolate ice cream can help you enjoy it even more. While this dessert is a treat, knowing what’s in it can assist you in making informed choices. Here’s a breakdown of the key nutritional components:
Calories
Each serving of rich homemade chocolate ice cream contains approximately 250 to 300 calories. This number can vary based on the specific ingredients you use and the portion size. While it’s a delightful indulgence, enjoying it in moderation is key to balancing your diet.
Protein
In terms of protein, each serving provides about 4 to 5 grams. The protein mainly comes from the milk and cream used in the recipe. While it’s not a high-protein dessert, it does contribute to your daily intake, especially when enjoyed as part of a balanced meal.
Sodium
When it comes to sodium, rich homemade chocolate ice cream contains around 50 to 70 milligrams per serving. This amount is relatively low, making it a suitable treat for most diets. However, if you’re watching your sodium intake, be mindful of the toppings you choose, as they can add extra sodium.
Overall, while rich homemade chocolate ice cream is a delicious dessert, it’s important to enjoy it as part of a balanced diet. With its creamy texture and rich flavor, it’s a treat that can bring joy to any occasion. So, scoop up a serving and savor every delightful bite!
FAQs about Rich Homemade Chocolate Ice Cream
Can I use regular cocoa powder instead of high-quality cocoa?
Yes, you can use regular cocoa powder, but the flavor may not be as rich. High-quality cocoa powder has a deeper chocolate taste and smoother texture. If you want the best results, opt for a premium brand. It makes a noticeable difference in your rich homemade chocolate ice cream!
How long can I store homemade chocolate ice cream?
You can store your rich homemade chocolate ice cream in the freezer for about 2 to 3 weeks. To keep it fresh, make sure to use an airtight container. Press a piece of plastic wrap directly onto the surface of the ice cream before sealing the lid. This helps prevent ice crystals from forming and keeps your ice cream creamy!
What can I use instead of sweetened condensed milk?
If you need a substitute for sweetened condensed milk, you can make your own by blending soaked cashews with maple syrup. This creates a creamy, sweet alternative. Alternatively, you can use coconut cream mixed with a sweetener of your choice. Both options will keep your ice cream rich and delicious!
Can I make this ice cream without an ice cream maker?
Absolutely! You can make rich homemade chocolate ice cream without an ice cream maker. Just pour the mixture into a shallow dish and place it in the freezer. Stir it every 30 minutes for about 2 to 3 hours until it reaches a creamy consistency. This method may take a bit longer, but it’s just as rewarding!
Conclusion on Rich Homemade Chocolate Ice Cream
In conclusion, making rich homemade chocolate ice cream is a delightful experience that brings joy to both the maker and the eater. With its creamy texture and deep chocolate flavor, this dessert is perfect for any occasion. Whether you’re enjoying it on a hot summer day or serving it at a cozy gathering, it’s sure to impress everyone.
By following the simple steps outlined in this recipe, you can create a treat that rivals any store-bought option. Plus, the ability to customize flavors and ingredients means you can make it your own. From adding mint for a refreshing twist to using dairy-free alternatives, the possibilities are endless!
Remember, the key to a successful ice cream lies in the quality of your ingredients and the love you put into making it. So, gather your family or friends, and make it a fun activity. Enjoy the process of mixing, churning, and tasting along the way!
As you scoop out your rich homemade chocolate ice cream, don’t forget to experiment with toppings and serving styles. A little creativity can turn a simple dessert into a stunning masterpiece. So, go ahead and indulge in this creamy delight, and savor every delicious bite. Happy ice cream making!
Craving more frozen dessert delights? Try these scrumptious recipes:
- Homemade Carrot Cake Ice Cream with Cream Cheese Swirl: A Sweet Sensation
- Another Take on Homemade Carrot Cake Ice Cream with Cream Cheese Swirl: Double the Deliciousness
- Homemade Chocolate-Covered Ice Cream Bars: Irresistible Frozen Treats
For more delightful recipes and culinary inspiration, follow us on Pinterest!