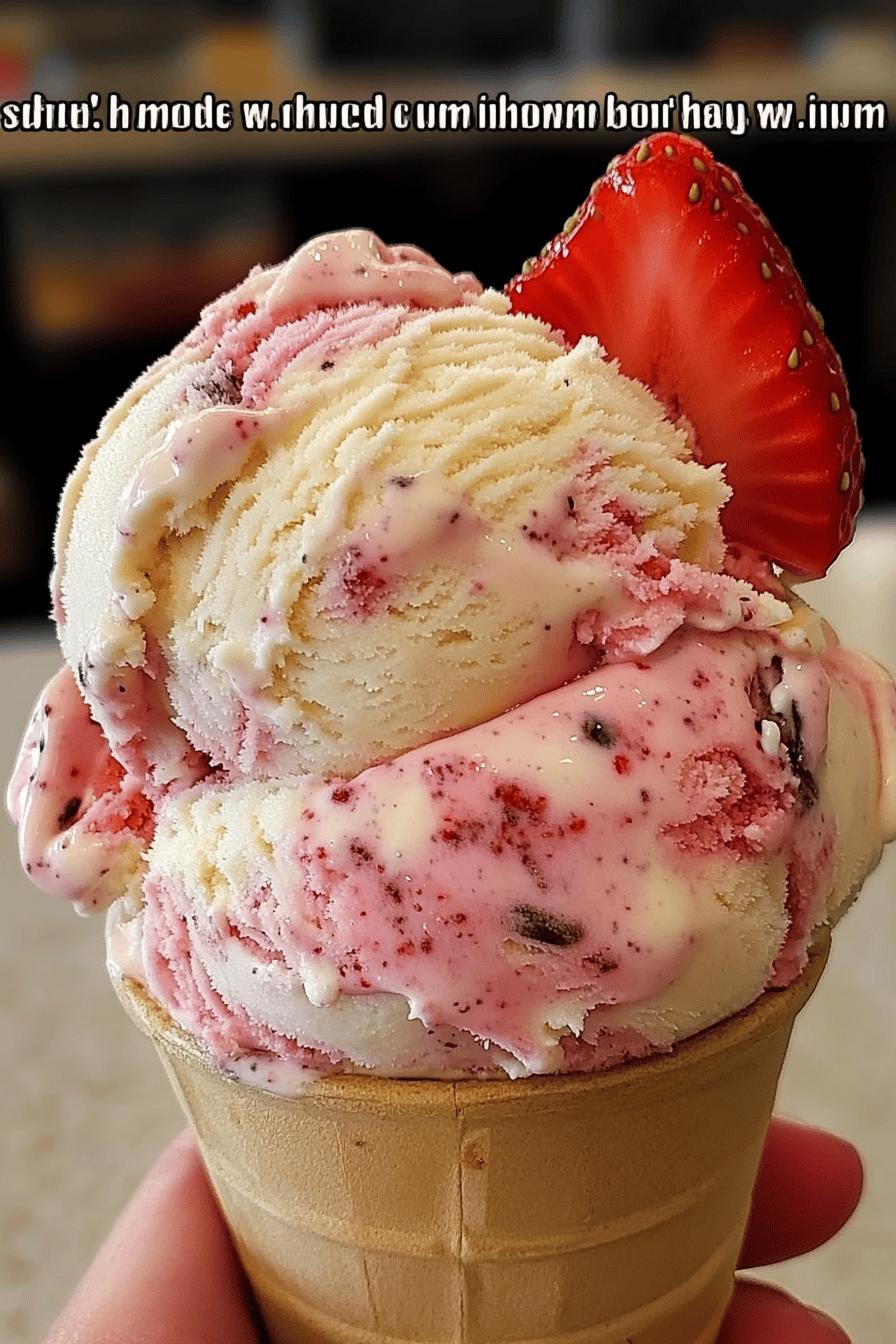
Introduction to Home Made Strawberry Vanilla Bean Ice Cream
The Joy of Homemade Ice Cream
There’s something truly special about homemade ice cream. It’s not just a dessert; it’s an experience. Making ice cream at home allows you to control the ingredients, ensuring that every scoop is fresh and delicious. Plus, the process can be a fun activity for the whole family. Imagine the joy of churning your own ice cream, watching it transform from a creamy mixture into a delightful frozen treat. The excitement builds as you anticipate that first taste. Homemade ice cream brings a sense of accomplishment and satisfaction that store-bought versions simply can’t match.
Why Choose Home Made Strawberry Vanilla Bean Ice Cream?
When it comes to ice cream, strawberry vanilla bean is a classic choice. This flavor combination is not only refreshing but also rich in taste. Using fresh strawberries adds a burst of fruity goodness, while the vanilla bean infuses a sweet, aromatic essence. Choosing to make your own strawberry vanilla bean ice cream means you can customize it to your liking. You can adjust the sweetness, add more strawberries, or even mix in other flavors. Plus, it’s a great way to use up ripe strawberries during the summer months. With this recipe, you’ll create a creamy, dreamy dessert that’s perfect for any occasion. So, let’s dive into the ingredients and get started on this delightful treat!
Ingredients for Home Made Strawberry Vanilla Bean Ice Cream
To create your own delicious Home Made Strawberry Vanilla Bean Ice Cream, you’ll need a few simple ingredients. Each one plays a vital role in achieving that creamy texture and delightful flavor. Here’s what you’ll need:
- 2 cups fresh strawberries, hulled and sliced
- 1 cup granulated sugar, divided
- 1 cup heavy cream
- 1 cup whole milk
- 4 large egg yolks
- 1 vanilla bean, split and seeds scraped
- 1 teaspoon pure vanilla extract
- Pinch of salt
These ingredients come together to create a rich and flavorful ice cream. The fresh strawberries provide a natural sweetness and vibrant color, while the vanilla bean adds a luxurious touch. The combination of heavy cream and whole milk ensures a creamy consistency that melts in your mouth. Remember, using fresh ingredients will enhance the overall taste of your ice cream, making it a truly homemade delight!
Step-by-Step Preparation of Home Made Strawberry Vanilla Bean Ice Cream
Step 1: Preparing the Strawberries
First things first, let’s get those strawberries ready! Start by washing them thoroughly under cool water. Once clean, hull the strawberries by removing the green tops. Then, slice them into small pieces. This helps release their natural juices, which will enhance the flavor of your ice cream. For an extra touch, sprinkle a tablespoon of sugar over the sliced strawberries and let them sit for about 10 minutes. This will create a delicious strawberry syrup that adds sweetness and depth to your ice cream.
Step 2: Making the Custard Base
Next, it’s time to make the custard base. In a medium saucepan, combine the heavy cream, whole milk, and half of the sugar (½ cup). Heat the mixture over medium heat, stirring occasionally until it’s warm but not boiling. In a separate bowl, whisk the egg yolks with the remaining sugar until the mixture is pale and creamy. This step is crucial as it helps to create a rich and smooth texture for your ice cream.
Step 3: Infusing the Vanilla Bean
Now, let’s infuse that wonderful vanilla flavor! Take the split vanilla bean and scrape the seeds into the warm milk mixture. Add the empty pod as well. This will allow the vanilla flavor to seep into the custard. Continue to heat the mixture until it’s hot but not boiling. Remove the saucepan from the heat. This step is essential for achieving that delightful vanilla aroma in your ice cream.
Step 4: Combining Ingredients
It’s time to combine everything! Slowly pour the warm milk mixture into the bowl with the egg yolks, whisking constantly. This technique, called tempering, prevents the eggs from scrambling. Once combined, return the mixture to the saucepan and cook over low heat. Stir continuously until the custard thickens enough to coat the back of a spoon. This usually takes about 5-7 minutes. Once thickened, remove it from the heat and let it cool slightly.
Step 5: Churning the Ice Cream
Now comes the fun part—churning! Pour the cooled custard into an ice cream maker. Add the prepared strawberries along with their syrup. Churn according to the manufacturer’s instructions, usually for about 20-25 minutes. The mixture will become thick and creamy. If you don’t have an ice cream maker, don’t worry! You can pour the mixture into a shallow dish and freeze it, stirring every 30 minutes until it reaches a creamy consistency.
Step 6: Freezing the Ice Cream
Finally, it’s time to freeze your ice cream! Transfer the churned ice cream into an airtight container. Smooth the top with a spatula and cover it with a lid. Freeze for at least 4 hours, or until firm. This step allows the flavors to meld together beautifully. Once frozen, your homemade strawberry vanilla bean ice cream will be ready to scoop and enjoy!
Variations of Home Made Strawberry Vanilla Bean Ice Cream
Adding Other Fruits
One of the best things about making homemade ice cream is the ability to experiment with flavors. While strawberry vanilla bean is a classic, you can easily add other fruits to create exciting variations. For instance, consider mixing in blueberries, raspberries, or even peaches. Simply prepare the additional fruits in the same way as the strawberries—wash, hull, and slice them. You can also create a mixed berry ice cream by combining several types of berries. This not only enhances the flavor but also adds a beautiful array of colors to your dessert. The fruity bursts will make every scoop a delightful surprise!
Swirling in Chocolate or Caramel
If you’re a fan of rich flavors, try swirling in chocolate or caramel for an indulgent twist. After churning your strawberry vanilla bean ice cream, gently fold in ribbons of chocolate syrup or caramel sauce. You can make your own sauce or use store-bought options for convenience. To create a beautiful marbled effect, use a spatula to swirl the sauce through the ice cream without fully mixing it in. This way, you’ll get pockets of chocolate or caramel goodness in every bite. It’s a simple addition that elevates your homemade ice cream to a whole new level of deliciousness!
Cooking Note for Home Made Strawberry Vanilla Bean Ice Cream
When making your Home Made Strawberry Vanilla Bean Ice Cream, there are a few important cooking notes to keep in mind. These tips will help ensure that your ice cream turns out perfectly creamy and flavorful.
- Use Fresh Ingredients: Always opt for fresh strawberries and high-quality vanilla beans. Fresh ingredients significantly enhance the flavor and texture of your ice cream.
- Temperature Matters: Make sure your custard mixture cools down before churning. This helps achieve a smoother texture. If it’s too warm, the ice cream may not churn properly.
- Churn Time: Follow the manufacturer’s instructions for your ice cream maker. Over-churning can lead to a grainy texture, while under-churning may result in a soft mixture.
- Storage Tips: Store your ice cream in an airtight container to prevent ice crystals from forming. This keeps your ice cream creamy and delicious.
- Let it Sit: Before serving, let the ice cream sit at room temperature for about 5-10 minutes. This makes it easier to scoop and enhances the flavor.
By keeping these cooking notes in mind, you’ll be well on your way to creating a delightful homemade strawberry vanilla bean ice cream that everyone will love. Enjoy the process and the delicious results!
Serving Suggestions for Home Made Strawberry Vanilla Bean Ice Cream
Perfect Pairings with Desserts
When it comes to serving your Home Made Strawberry Vanilla Bean Ice Cream, the possibilities are endless! This delightful treat pairs wonderfully with a variety of desserts. For a classic combination, serve it alongside warm chocolate brownies. The rich, fudgy texture of the brownies complements the creamy ice cream perfectly. You can also try it with a slice of homemade pie, such as apple or peach. The fruity flavors of the pie enhance the strawberry notes in the ice cream, creating a delicious harmony.
If you’re feeling adventurous, consider serving your ice cream with a rich chocolate cake. The contrast between the light, fruity ice cream and the dense cake is simply divine. For a lighter option, fresh fruit salad is a great choice. The refreshing fruits will balance the sweetness of the ice cream, making for a delightful dessert experience. Don’t forget to drizzle some chocolate or caramel sauce over the top for an extra touch of indulgence!
Creative Serving Ideas
Get creative with how you serve your Home Made Strawberry Vanilla Bean Ice Cream! One fun idea is to create an ice cream sundae bar. Set out various toppings like crushed nuts, sprinkles, whipped cream, and fruit. Let your guests build their own sundaes, making it a fun and interactive dessert experience. You can also serve the ice cream in waffle cones or bowls, adding a sprinkle of crushed cookies or graham crackers for added texture.
For a more elegant presentation, consider serving the ice cream in chilled dessert glasses. Layer the ice cream with fresh strawberries and a drizzle of strawberry syrup for a beautiful parfait. This not only looks stunning but also adds extra flavor with each layer. Another creative idea is to make ice cream sandwiches using soft cookies. Simply scoop the ice cream between two cookies for a delightful treat that’s sure to impress!
With these serving suggestions, your Home Made Strawberry Vanilla Bean Ice Cream will be the star of any gathering. Whether you keep it simple or get creative, this delicious dessert is sure to bring smiles to everyone’s faces!
Tips for Making the Best Home Made Strawberry Vanilla Bean Ice Cream
Creating the perfect Home Made Strawberry Vanilla Bean Ice Cream is all about attention to detail. Here are some helpful tips to ensure your ice cream turns out creamy, flavorful, and utterly delightful:
- Choose Ripe Strawberries: The flavor of your ice cream largely depends on the quality of the strawberries. Select ripe, sweet strawberries for the best taste. Look for berries that are bright red and fragrant.
- Don’t Skip the Sugar: Sugar not only sweetens the ice cream but also helps create a smooth texture. Adjust the amount based on your taste preference, but don’t reduce it too much, as it can affect the creaminess.
- Chill Your Equipment: If you’re using an ice cream maker, chill the bowl beforehand. A cold bowl helps the ice cream freeze faster, resulting in a smoother texture.
- Be Patient with Churning: Allow the ice cream to churn for the recommended time. This incorporates air into the mixture, making it light and fluffy. Rushing this step can lead to a dense ice cream.
- Experiment with Flavors: Feel free to add your own twist! Consider mixing in herbs like mint or basil for a unique flavor profile. You can also try adding a splash of lemon juice to enhance the strawberry flavor.
- Store Properly: To keep your ice cream fresh, store it in an airtight container. Press a piece of plastic wrap directly onto the surface of the ice cream before sealing the lid. This helps prevent ice crystals from forming.
- Let it Soften: Before serving, let the ice cream sit at room temperature for about 5-10 minutes. This makes scooping easier and enhances the flavor as it warms slightly.
By following these tips, you’ll be well on your way to making the best Home Made Strawberry Vanilla Bean Ice Cream. Each scoop will be a creamy, fruity delight that everyone will love!
Breakdown of Time for Home Made Strawberry Vanilla Bean Ice Cream
Prep Time
Preparing your Home Made Strawberry Vanilla Bean Ice Cream is a delightful process that requires some time. The prep time for this recipe is approximately 30 minutes. This includes washing and slicing the strawberries, making the custard base, and infusing the vanilla bean. Taking your time during this stage ensures that you create a rich and flavorful ice cream. Remember, good things take time, and the effort you put in will be well worth it!
Cooking Time
The cooking time for your ice cream is about 15-20 minutes. This includes heating the milk and cream mixture, tempering the egg yolks, and cooking the custard until it thickens. It’s important to stir continuously during this process to achieve a smooth texture. While it may seem like a short time, this step is crucial for developing the creamy consistency that makes your ice cream so delicious.
Total Time
In total, you can expect to spend around 4 to 5 hours from start to finish, including the freezing time. After churning the ice cream, it needs to freeze for at least 4 hours to reach the perfect scoopable consistency. While this may feel like a long wait, it gives the flavors time to meld together beautifully. So, plan ahead and enjoy the anticipation of indulging in your homemade strawberry vanilla bean ice cream!
Nutritional Information for Home Made Strawberry Vanilla Bean Ice Cream
Calories
When indulging in a scoop of Home Made Strawberry Vanilla Bean Ice Cream, it’s good to know what you’re enjoying. On average, one serving (about ½ cup) contains approximately 200-250 calories. This can vary based on the specific ingredients you use, especially if you adjust the sugar or cream content. While it’s a sweet treat, it’s important to enjoy it in moderation, especially during those hot summer days when a refreshing dessert is just what you need!
Protein
Protein is an essential nutrient, and your homemade ice cream provides a modest amount. Each serving typically contains around 3-4 grams of protein. This comes mainly from the egg yolks and dairy used in the recipe. While it’s not a significant source of protein, every little bit helps, especially when paired with other nutritious foods. Enjoying this ice cream as part of a balanced diet can make your dessert experience even more satisfying!
Sodium
For those watching their sodium intake, it’s helpful to know that a serving of Home Made Strawberry Vanilla Bean Ice Cream contains about 50-70 milligrams of sodium. This is relatively low, making it a suitable option for most diets. The sodium content mainly comes from the dairy ingredients. As always, if you have specific dietary restrictions, feel free to adjust the recipe to meet your needs!
FAQs about Home Made Strawberry Vanilla Bean Ice Cream
Can I use frozen strawberries instead of fresh?
Yes, you can use frozen strawberries if fresh ones are not available. However, keep in mind that frozen strawberries may have a slightly different texture and flavor. To use them, simply thaw the strawberries and drain any excess liquid before slicing. This will help maintain the right consistency in your ice cream. While fresh strawberries provide a vibrant taste, frozen ones can still create a delicious treat!
How long does homemade ice cream last in the freezer?
Homemade ice cream can last in the freezer for about 2 to 3 weeks when stored properly. To keep it fresh, make sure to place it in an airtight container. Press a piece of plastic wrap directly onto the surface of the ice cream before sealing the lid. This helps prevent ice crystals from forming and keeps your ice cream creamy. After a few weeks, the flavor and texture may start to decline, so it’s best to enjoy it sooner rather than later!
What can I substitute for vanilla bean?
If you don’t have a vanilla bean on hand, you can substitute it with pure vanilla extract. Use about 1 to 2 teaspoons of vanilla extract in place of one vanilla bean. While the flavor may not be as intense as using a whole bean, it will still add a lovely vanilla essence to your ice cream. You can also try using vanilla paste, which contains both the seeds and the flavor of vanilla beans, for a similar effect.
Is it necessary to use an ice cream maker?
No, it’s not necessary to use an ice cream maker to make homemade strawberry vanilla bean ice cream. If you don’t have one, you can still create delicious ice cream by pouring the mixture into a shallow dish. Place it in the freezer and stir every 30 minutes for about 2 to 3 hours. This method helps incorporate air into the mixture, resulting in a creamy texture. While it may take a bit more effort, you can still enjoy a delightful homemade treat!
Conclusion on Home Made Strawberry Vanilla Bean Ice Cream
Recap of the Delightful Experience
In conclusion, making your own Home Made Strawberry Vanilla Bean Ice Cream is a delightful experience that brings joy to both the process and the final product. From selecting fresh strawberries to creating a creamy custard base, each step is filled with anticipation and excitement. The combination of sweet strawberries and aromatic vanilla bean creates a flavor that is both refreshing and indulgent. Whether enjoyed on a hot summer day or as a sweet ending to a meal, this ice cream is sure to impress family and friends alike. Plus, the satisfaction of crafting a homemade treat adds an extra layer of enjoyment to every scoop.
Encouragement to Try the Recipe
So, why not give this recipe a try? With simple ingredients and easy-to-follow steps, you can create a delicious dessert that will surely become a favorite. Don’t hesitate to experiment with different fruits or flavors to make it your own. Remember, the joy of homemade ice cream lies in the creativity and love you put into it. Gather your ingredients, invite your loved ones to join in the fun, and savor the delightful taste of your very own strawberry vanilla bean ice cream. Happy churning!
Relevant Recipes Link:
Craving the delightful creaminess of homemade ice cream? Try these tantalizing recipes:
For more scrumptious recipes and culinary inspiration, follow us on Pinterest!