Introduction to No-Churn Cookie Butter Ice Cream
What Makes No-Churn Cookie Butter Ice Cream Special?
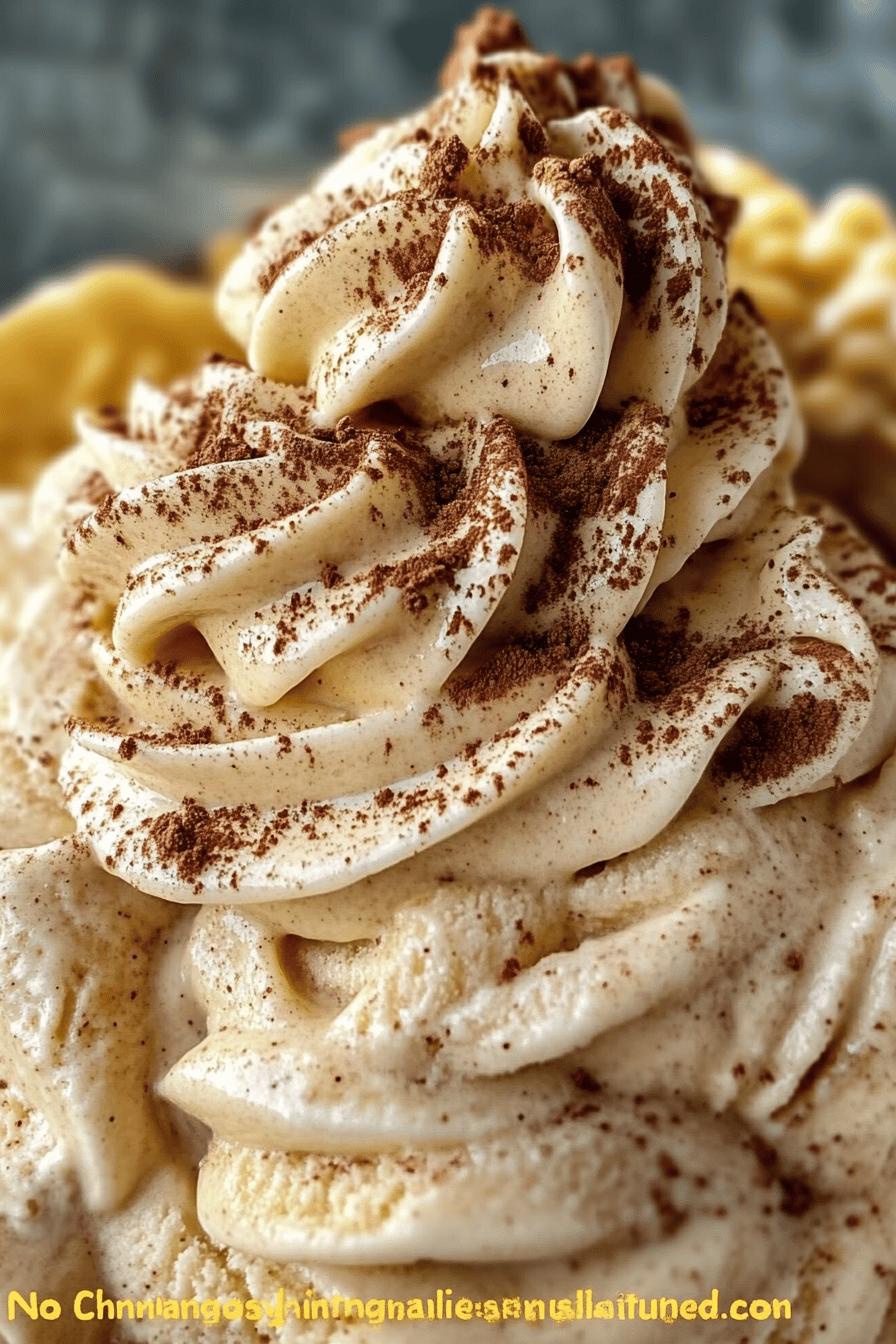
No-churn Cookie Butter Ice Cream is a delightful treat that stands out for several reasons. First, it requires no ice cream maker, making it accessible for everyone. You can whip it up in your kitchen with just a few simple ingredients. The star of this recipe is cookie butter, which adds a unique flavor that is both sweet and slightly spiced. This creamy spread is made from crushed cookies, giving the ice cream a rich, indulgent taste. The combination of the smooth ice cream and the cookie butter creates a heavenly swirl that is hard to resist.
Why You Should Try This Recipe
If you’re looking for a quick and easy dessert, this no-churn Cookie Butter Ice Cream is perfect for you. It’s ideal for hot summer days when you want something cool and refreshing. Plus, it’s a fantastic way to impress your friends and family. With minimal effort, you can create a dessert that tastes like it came from a gourmet ice cream shop. Whether you’re hosting a summer barbecue or just treating yourself, this recipe is sure to satisfy your sweet cravings. So, gather your ingredients and get ready to enjoy a scoop of this delicious ice cream!
Ingredients for No-Churn Cookie Butter Ice Cream
To make this delightful no-churn Cookie Butter Ice Cream, you will need just a few simple ingredients. Here’s what you’ll need:
- 2 cups heavy cream
- 1 cup sweetened condensed milk
- 1 cup cookie butter
- 1 teaspoon vanilla extract
- Pinch of salt
These ingredients come together to create a creamy and flavorful ice cream that is sure to please. The heavy cream provides a rich base, while the sweetened condensed milk adds sweetness and creaminess. Cookie butter is the star of the show, giving the ice cream its unique flavor. A touch of vanilla extract enhances the overall taste, and a pinch of salt balances the sweetness perfectly.
Feel free to adjust the quantities based on your preferences. For instance, if you love cookie butter, you can add a bit more to intensify the flavor. This recipe is flexible, allowing you to customize it to your liking. Now that you have your ingredients ready, let’s move on to the next step of preparing this delicious treat!
Step-by-Step Preparation of No-Churn Cookie Butter Ice Cream
Step 1: Gather Your Ingredients
Before you start making your no-churn Cookie Butter Ice Cream, it’s important to gather all your ingredients. This will make the process smoother and more enjoyable. Make sure you have:
- 2 cups of heavy cream
- 1 cup of sweetened condensed milk
- 1 cup of cookie butter
- 1 teaspoon of vanilla extract
- A pinch of salt
Having everything ready will help you move quickly through the steps. Plus, it’s always nice to see all your ingredients laid out, ready to create something delicious!
Step 2: Prepare the Base
Now that you have your ingredients, it’s time to prepare the base for your ice cream. Start by pouring the heavy cream into a large mixing bowl. Using an electric mixer, whip the cream on medium speed until it forms soft peaks. This usually takes about 3 to 5 minutes. Soft peaks mean that the cream holds its shape but still has a slight droop. This step is crucial as it gives your ice cream that light and fluffy texture.
Step 3: Incorporate the Cookie Butter
Once your cream is whipped, it’s time to add the cookie butter. In a separate bowl, mix the cookie butter, sweetened condensed milk, vanilla extract, and a pinch of salt. Stir until everything is well combined. Then, gently fold this mixture into the whipped cream. Use a spatula to combine them carefully. You want to keep the air in the whipped cream, so be gentle. This will ensure your ice cream remains light and creamy.
Step 4: Whip and Fold
After incorporating the cookie butter mixture, continue to fold until you see a beautiful swirl of cookie butter throughout the cream. This step is where the magic happens! The cookie butter will create a rich flavor and a lovely color in your ice cream. Make sure not to overmix; you want to see those delightful swirls. Once you’re satisfied with the mixture, it’s ready for the next step.
Step 5: Freeze the Mixture
Now it’s time to freeze your ice cream mixture. Transfer it into a freezer-safe container. Smooth the top with a spatula, and cover it tightly with a lid or plastic wrap. Place it in the freezer for at least 6 hours, or until it’s firm. If you can wait overnight, that’s even better! This will allow the flavors to meld beautifully, giving you a richer taste when you finally scoop it out.
And there you have it! You’ve just prepared your no-churn Cookie Butter Ice Cream. It’s a simple process that leads to a deliciously creamy treat. Now, let’s explore some fun variations you can try!
Variations of No-Churn Cookie Butter Ice Cream
Adding Mix-Ins
One of the best things about making no-churn Cookie Butter Ice Cream is how easy it is to customize. You can add mix-ins to create your own unique flavor combinations. Here are some fun ideas:
- Chocolate Chips: Fold in mini chocolate chips for a delightful crunch and extra sweetness.
- Crushed Cookies: Add crushed cookies, like Oreos or graham crackers, for a fun texture and flavor contrast.
- Chopped Nuts: Chopped pecans or walnuts can add a nice nutty flavor and a bit of crunch.
- Swirls of Caramel: Drizzle caramel sauce into the mixture before freezing for a sweet surprise in every bite.
Feel free to get creative! The mix-ins can be adjusted based on your preferences. Just remember to fold them in gently to keep the ice cream light and fluffy.
Alternative Flavors to Try
If you’re in the mood for something different, consider experimenting with alternative flavors. Here are a few ideas to inspire you:
- Chocolate Cookie Butter: Use chocolate cookie butter instead of the regular kind for a rich chocolatey twist.
- Peanut Butter Swirl: Replace cookie butter with peanut butter for a nutty flavor that pairs wonderfully with chocolate chips.
- Maple Pecan: Substitute cookie butter with maple syrup and add chopped pecans for a fall-inspired treat.
- Mint Chocolate Chip: Add a few drops of mint extract and chocolate chips for a refreshing minty ice cream.
These variations can make your no-churn Cookie Butter Ice Cream even more exciting. Don’t hesitate to mix and match flavors to find your perfect combination!
Cooking Note for No-Churn Cookie Butter Ice Cream
When making no-churn Cookie Butter Ice Cream, there are a few important cooking notes to keep in mind. These tips will help ensure that your ice cream turns out perfectly every time.
First, make sure your heavy cream is cold. Cold cream whips better, resulting in a fluffier texture. If possible, chill your mixing bowl and beaters in the refrigerator for about 15 minutes before whipping the cream. This extra step can make a big difference in achieving those soft peaks.
Next, be mindful of the mixing process. When folding the cookie butter mixture into the whipped cream, use a gentle hand. Overmixing can deflate the whipped cream, leading to a denser ice cream. Aim for a light and airy texture, which is what makes this dessert so delightful.
Additionally, consider the storage container you use. A shallow, wide container will help the ice cream freeze more evenly. If you use a deep container, it may take longer for the ice cream to set. Once frozen, cover the ice cream with plastic wrap or a lid to prevent ice crystals from forming on the surface.
Lastly, remember that homemade ice cream can be a bit harder than store-bought varieties. If you find it too hard to scoop after freezing, let it sit at room temperature for about 5 to 10 minutes before serving. This will soften it just enough for easy scooping.
By following these cooking notes, you’ll be well on your way to creating a delicious batch of no-churn Cookie Butter Ice Cream that everyone will love!
Serving Suggestions for No-Churn Cookie Butter Ice Cream
Creative Ways to Serve
When it comes to serving your no-churn Cookie Butter Ice Cream, the possibilities are endless! Here are some creative ideas to make your dessert even more delightful:
- Ice Cream Sundae: Scoop the ice cream into a bowl and top it with whipped cream, chocolate syrup, and a sprinkle of crushed cookies. This adds a fun twist to a classic sundae!
- Cookie Butter Float: For a refreshing treat, pour some cold milk or coffee over a scoop of ice cream in a tall glass. This creates a delicious float that’s perfect for warm days.
- Ice Cream Sandwiches: Use your favorite cookies to create ice cream sandwiches. Simply place a scoop of ice cream between two cookies for a fun and portable dessert.
- Waffle Bowls: Serve the ice cream in waffle bowls for a crunchy and sweet presentation. You can even drizzle some chocolate or caramel sauce inside the bowl for extra flavor.
These serving ideas not only enhance the presentation but also add layers of flavor and texture to your dessert. Get creative and have fun with it!
Pairing with Other Desserts
No-churn Cookie Butter Ice Cream pairs wonderfully with a variety of other desserts. Here are some delicious combinations to consider:
- Brownies: Serve a scoop of ice cream on top of warm brownies for a decadent dessert. The warm chocolate and cold ice cream create a delightful contrast.
- Fruit Crumble: A scoop of ice cream on top of a warm fruit crumble, like apple or berry, makes for a comforting dessert that balances sweetness and tartness.
- Pancakes or Waffles: Add a scoop of ice cream to your breakfast pancakes or waffles for a sweet twist. Drizzle with maple syrup for an indulgent morning treat.
- Chocolate Cake: Pair the ice cream with a slice of rich chocolate cake. The creamy ice cream complements the dense cake perfectly.
These pairings can elevate your dessert experience, making it even more enjoyable. Whether you’re hosting a gathering or just treating yourself, these suggestions will surely impress!
Tips for Perfect No-Churn Cookie Butter Ice Cream
Storage Tips
Storing your no-churn Cookie Butter Ice Cream properly is key to maintaining its creamy texture and delicious flavor. Here are some helpful storage tips:
- Use an Airtight Container: Always transfer your ice cream to an airtight container. This prevents ice crystals from forming and keeps your ice cream fresh.
- Label and Date: If you plan to store your ice cream for a while, label the container with the date. This way, you’ll know how long it’s been in the freezer.
- Keep it Cold: Store your ice cream in the back of the freezer, where the temperature is most consistent. Avoid placing it in the door, as the temperature fluctuates more there.
- Cover the Surface: For extra protection, press a piece of plastic wrap directly onto the surface of the ice cream before sealing the container. This helps prevent freezer burn.
By following these storage tips, you can enjoy your no-churn Cookie Butter Ice Cream for weeks without losing its delightful taste and texture!
Troubleshooting Common Issues
Even with the best intentions, you might encounter some common issues when making no-churn Cookie Butter Ice Cream. Here are solutions to help you troubleshoot:
- Ice Cream Too Hard: If your ice cream is too hard to scoop, let it sit at room temperature for 5 to 10 minutes before serving. This will soften it just enough for easy scooping.
- Ice Crystals Forming: If you notice ice crystals on the surface, it may be due to improper storage. Ensure your container is airtight and that the ice cream is covered well.
- Not Enough Flavor: If the flavor isn’t as strong as you’d like, consider adding more cookie butter or a splash of vanilla extract next time. Taste the mixture before freezing to adjust the flavor.
- Overmixed Mixture: If your ice cream turns out dense, it may be due to overmixing. Be gentle when folding the cookie butter mixture into the whipped cream to keep it light and airy.
With these troubleshooting tips, you can easily overcome any challenges and enjoy a perfect batch of no-churn Cookie Butter Ice Cream every time!
Breakdown of Time for No-Churn Cookie Butter Ice Cream
Prep Time
The prep time for your no-churn Cookie Butter Ice Cream is quite minimal. You’ll need about 15 to 20 minutes to gather your ingredients, whip the cream, and mix everything together. This quick preparation makes it easy to whip up a batch whenever you crave something sweet!
Cooking Time
While there’s no actual cooking involved in this recipe, the freezing time is essential. After you’ve mixed your ingredients, you’ll need to freeze the ice cream for at least 6 hours. For the best results, consider letting it freeze overnight. This allows the flavors to meld beautifully, resulting in a richer taste.
Total Time
In total, you’re looking at about 6 hours and 20 minutes from start to finish, including prep and freezing time. However, if you choose to let it freeze overnight, the total time will extend to about 18 hours. But don’t worry! Most of that time is hands-off, allowing you to enjoy your day while your ice cream sets. Just remember to plan ahead so you can indulge in this delicious treat when the moment strikes!
Nutritional Information for No-Churn Cookie Butter Ice Cream
Calories
When indulging in no-churn Cookie Butter Ice Cream, it’s good to know the calorie content. Each serving of this creamy delight contains approximately 250 calories. This number can vary slightly based on the specific brands of ingredients you use. While it’s a sweet treat, enjoying it in moderation is key to balancing your diet.
Protein
In terms of protein, each serving of no-churn Cookie Butter Ice Cream offers about 3 grams. The protein mainly comes from the heavy cream and sweetened condensed milk. While it’s not a significant source of protein, it does contribute to the overall nutritional profile of this delicious dessert.
Sodium
As for sodium content, you can expect around 80 milligrams per serving. This amount is relatively low, making it a suitable option for those watching their sodium intake. However, if you’re concerned about sodium levels, consider using low-sodium versions of the ingredients where possible.
Overall, while no-churn Cookie Butter Ice Cream is a delightful treat, it’s important to enjoy it as part of a balanced diet. Knowing the nutritional information can help you make informed choices while satisfying your sweet cravings!
FAQs about No-Churn Cookie Butter Ice Cream
Can I use homemade cookie butter?
Absolutely! Using homemade cookie butter can add a personal touch to your no-churn Cookie Butter Ice Cream. Just make sure your homemade version has a similar consistency to store-bought cookie butter. This will ensure that it blends well with the other ingredients. Plus, you can customize the flavor to your liking, making your ice cream even more special!
How long can I store the ice cream?
You can store your no-churn Cookie Butter Ice Cream in the freezer for up to two weeks. To keep it fresh, make sure to use an airtight container. If you notice any ice crystals forming, it’s best to consume it sooner rather than later. For the best taste and texture, try to enjoy it within the first week!
Is it possible to make this recipe dairy-free?
Yes, you can make a dairy-free version of no-churn Cookie Butter Ice Cream! Simply substitute the heavy cream with a dairy-free alternative, such as coconut cream or almond milk. For the sweetened condensed milk, look for dairy-free versions available in stores or make your own using coconut milk and sugar. This way, you can enjoy a delicious treat without dairy!
What can I substitute for heavy cream?
If you need a substitute for heavy cream, there are several options. You can use full-fat coconut milk for a rich and creamy texture. Another option is to blend silken tofu with a bit of almond milk to achieve a similar consistency. Just keep in mind that these substitutes may slightly alter the flavor and texture of your ice cream, but they can still yield a tasty result!
Conclusion on No-Churn Cookie Butter Ice Cream
Final Thoughts and Encouragement to Try the Recipe
In conclusion, no-churn Cookie Butter Ice Cream is a delightful and easy dessert that everyone can enjoy. With its creamy texture and rich flavor, it’s the perfect treat for hot summer days or any time you crave something sweet. The best part? You don’t need an ice cream maker to whip up this delicious dessert!
This recipe is not only simple but also highly customizable. Whether you choose to add mix-ins or try different flavors, the possibilities are endless. You can make it your own and impress your friends and family with your creativity. Plus, it’s a fantastic way to use cookie butter, a beloved ingredient that adds a unique twist to traditional ice cream.
So, why not give this no-churn Cookie Butter Ice Cream a try? Gather your ingredients, follow the steps, and enjoy the satisfaction of making your own ice cream at home. You’ll be rewarded with a creamy, dreamy dessert that’s sure to become a favorite. Don’t forget to share your creations and variations with others, as this treat is meant to be enjoyed and celebrated!
Happy ice cream making, and enjoy every scoop of your delicious no-churn Cookie Butter Ice Cream!
Relevant Recipes Link:
Are you a fan of creamy and indulgent desserts? You’ll love these must-try recipes:
- Creamy Peanut Butter Ice Cream: A Decadent Treat
- Homemade Coffee Toffee Ice Cream: Irresistibly Good
- Homemade Peanut Butter Cup Ice Cream: A Delicious Classic
For more delightful recipes and food inspiration, follow us on Pinterest!